


💫 Ranara Transfer Foil – Printed
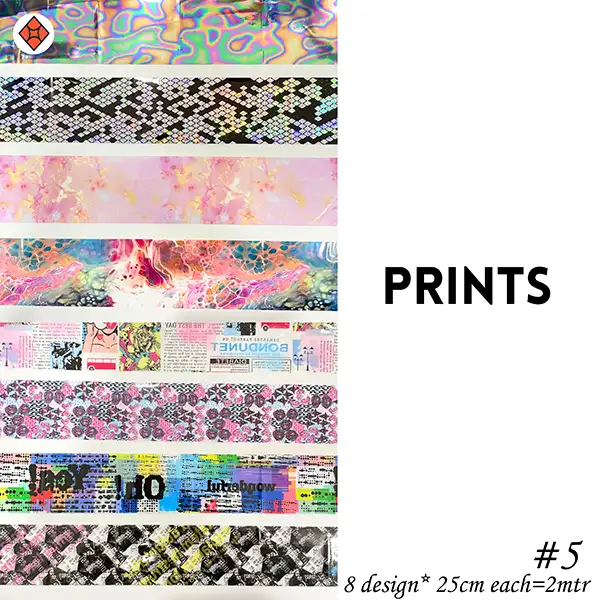
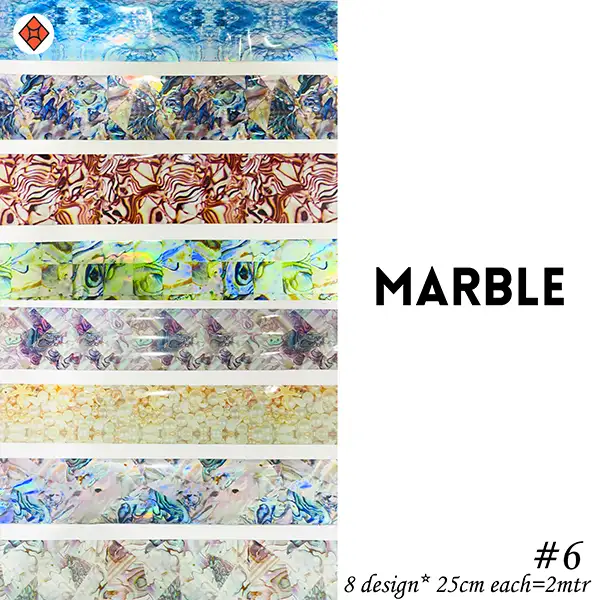
Ranara Transfer Foil – Printed is a curated set of unique pre-designed foils that allow you to effortlessly create intricate nail art with a professional finish. Each set includes 8 different printed designs, each measuring 25 centimeters, making it a total of 2 meters per set.
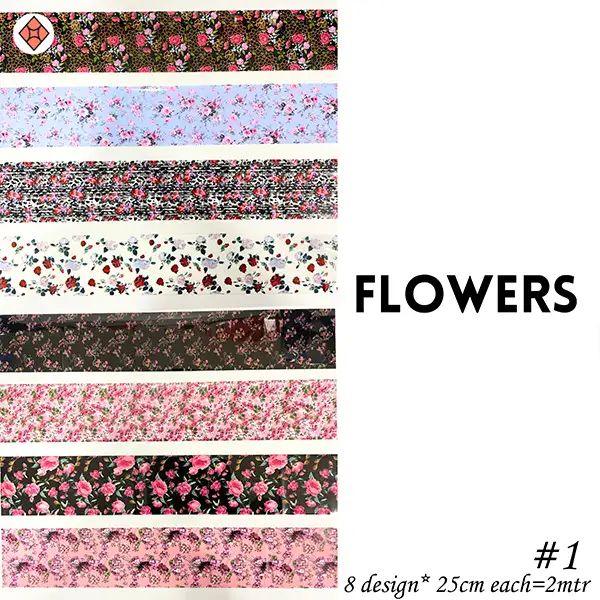
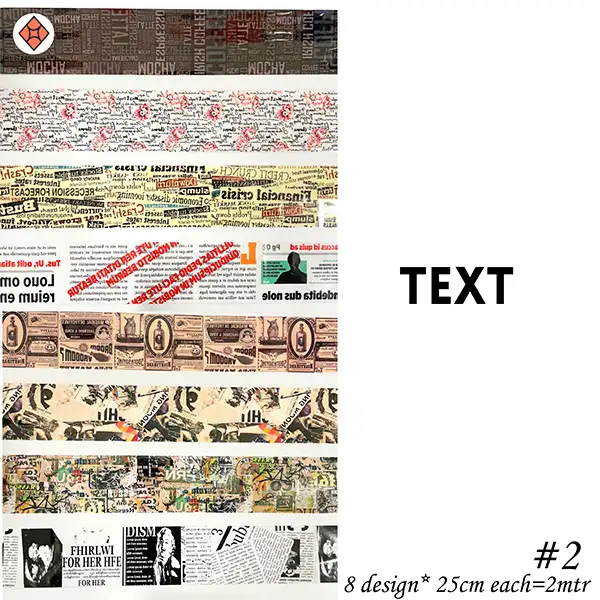
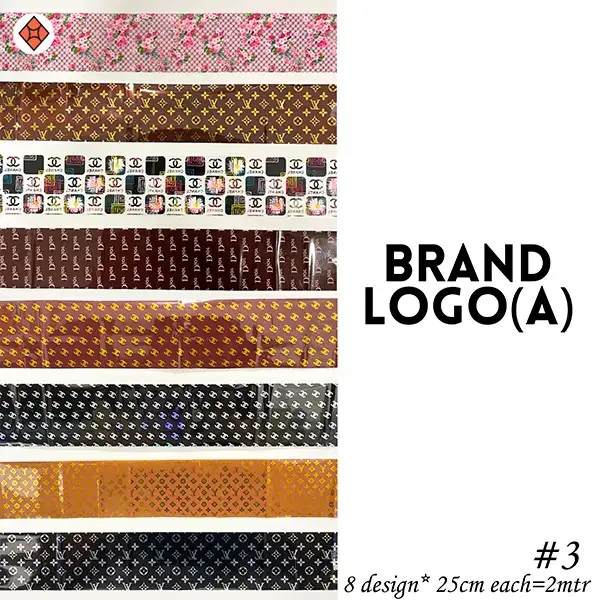
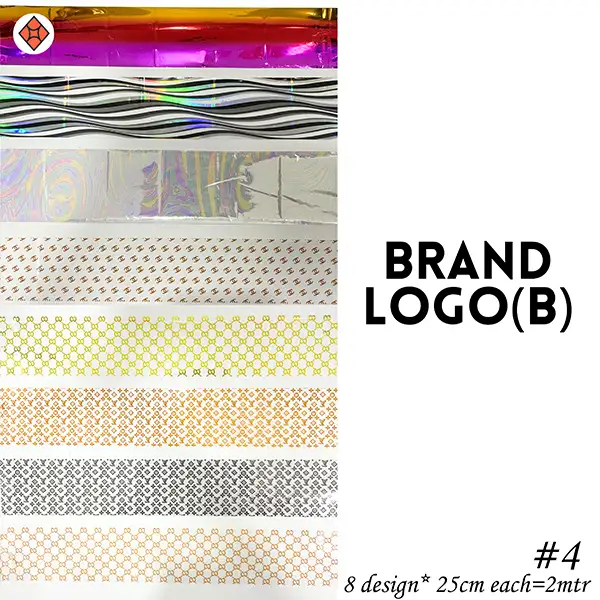
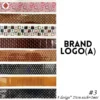
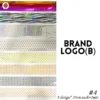
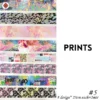
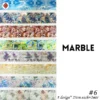
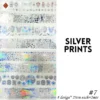
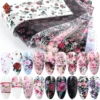
The prints include a diverse mix of floral designs, abstract prints, marble patterns, silver accents, brand logo-inspired styles, and many more artistic motifs – all beautifully packed together to give you a variety of styles in one box.
⸻
🌟 Key Features
• ✅ Pack of 8 Designs: Each design is 25 cm, totaling 2 meters per set.
• ✅ Exclusive Printed Patterns: Includes florals, marble, brand logos, silver prints, and trendy graphic elements.
• ✅ Premium Quality Foil: Ensures sharp, clean transfers with great adherence.
• ✅ Ready-to-Use Art: Instantly upgrades any base color with intricate printed looks.
• ✅ Versatile Use: Suitable for accent nails, full nail coverage, or mix-and-match designs.
• ✅ Flexible & Thin: Smooth application across gel, acrylic, or softgel nails.
• ✅ Dual Compatibility: Can be used with either foil adhesive or foil gel for seamless transfer.
⸻
🖌️ How to Use Ranara Transfer Foil – Printed
You can apply the printed foils using foil adhesive or foil gel. Here’s how:
⸻
🧴 A. Using Foil Adhesive
1. Prep & Base Color: Apply your desired base color and let it dry or cure fully.
2. Apply Foil Adhesive: Paint a thin layer on the nail where you want the foil to stick.
3. Air Dry to Tacky: Wait for the adhesive to turn completely clear and sticky (approx. 30–60 seconds).
4. Place the Foil: Press the printed foil (dull side down) on the nail.
5. Rub Gently: Use a silicone tool or finger to press and rub the foil well.
6. Peel Off: Remove gently to reveal the transferred design.
7. Seal the Art: Apply a top coat to protect and shine the design.
⸻
💅 B. Using Foil Gel
1. Apply Base & Cure: Paint a gel base color and cure as usual.
2. Foil Gel Application: Apply foil gel on the areas where foil is to be placed.
3. Cure Under Lamp: Cure for 30–60 seconds (based on gel brand).
4. Transfer the Foil: Press the foil (dull side to nail) onto the tacky cured gel.
5. Rub & Peel: Firmly press, rub, and peel off for a perfect transfer.
6. Finish with Top Coat: Apply a non-wipe gel top coat and cure.
⸻
💡 Pro Tips
• Cut the printed foil precisely to highlight specific parts of the design.
• Use tweezers for cleaner placement and alignment of intricate prints.
• For a layered effect, try combining printed foils over metallic foils or soft base gradients.
• Always seal the foil design with a top coat to prevent chipping or peeling.


Reviews
There are no reviews yet.